

treybrad
New Member
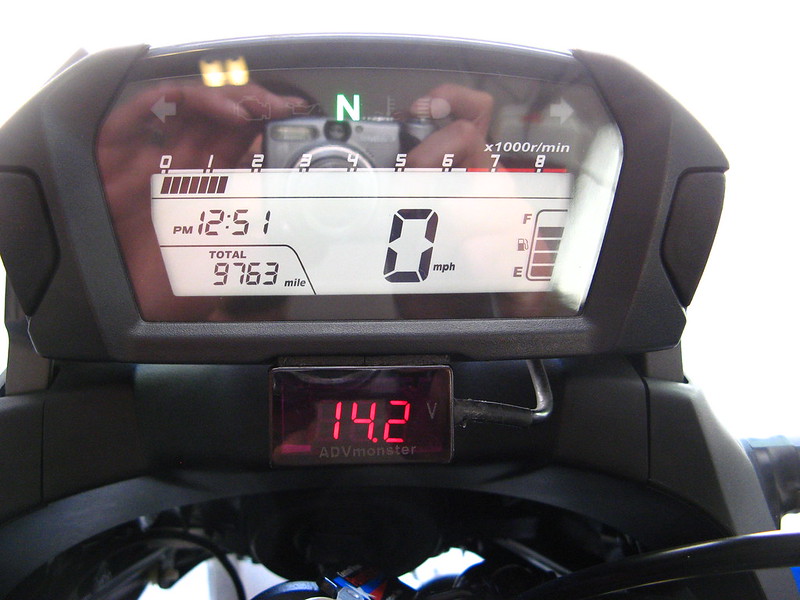
I checked my clearances today for the first time at 9,763 miles. I know, I'm over the 8k spec, but.... oh well. I didn't document this enough to really call it a how to, but here are some bigger pics to help supplement the shop manual's 'pictures'...
I'm no mechanic... I'm handy enough, and have a pretty well stocked garage of tools, and checking the valves on the NC is a doddle. If you have any mechanical inclination, save yourself some money and get you hands dirty for a couple hours -- you can do it with basic tools, nothing out of the ordinary.
First, as always, is start with a cold bike. Mine sat overnight, which is recommended.
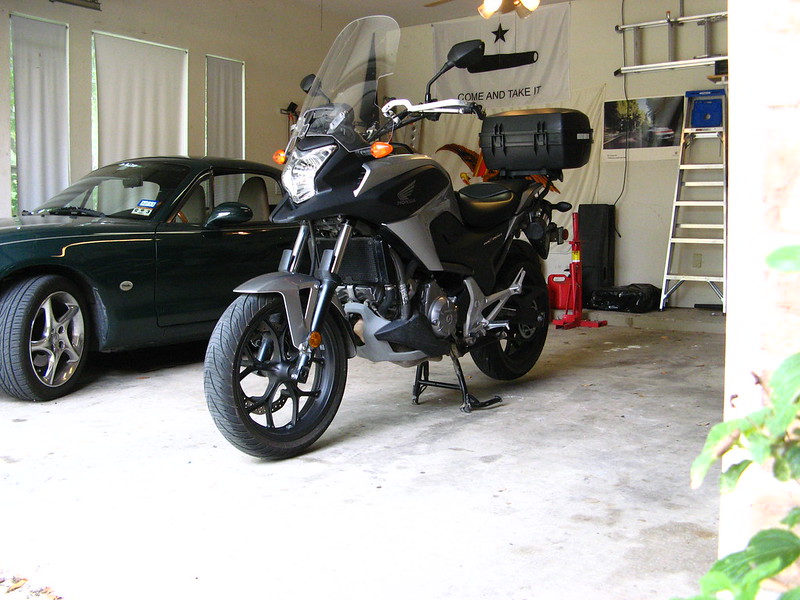
NC700X Valve Check 004 by treybrad, on Flickr
I bought 2 qts of coolant. Capacity is only 1.79 qts, and I wasn't sure how much I'd lose out of the radiator -- it ended up being less than a quart, so you only need to buy one.
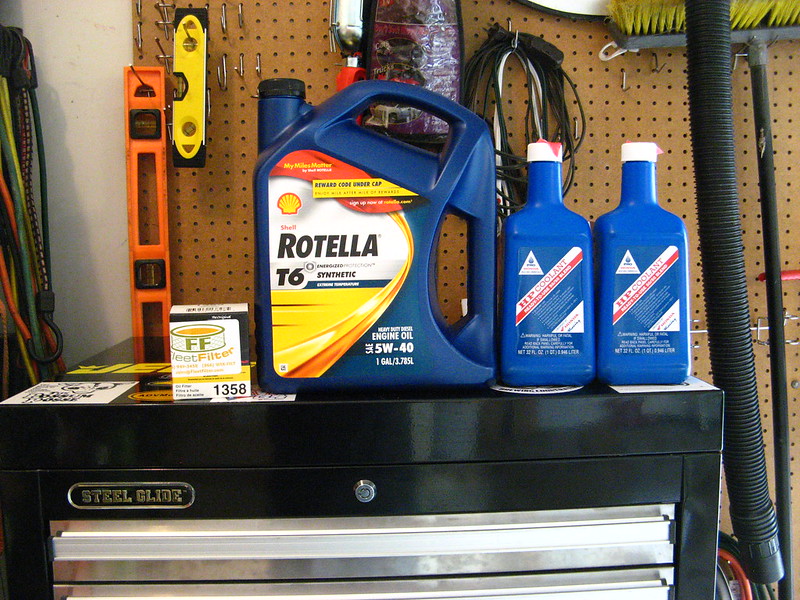
NC700X Valve Check 003 by treybrad, on Flickr
I started about 11a....
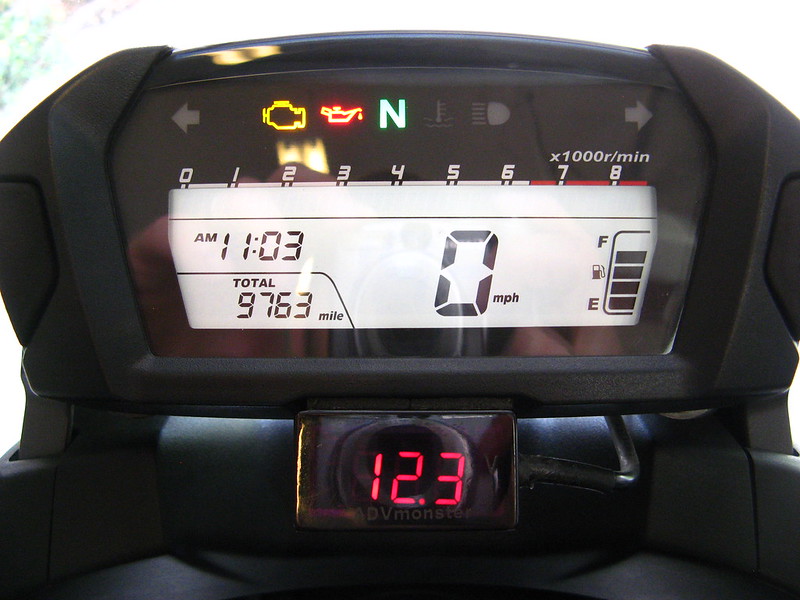
NC700X Valve Check 009 by treybrad, on Flickr
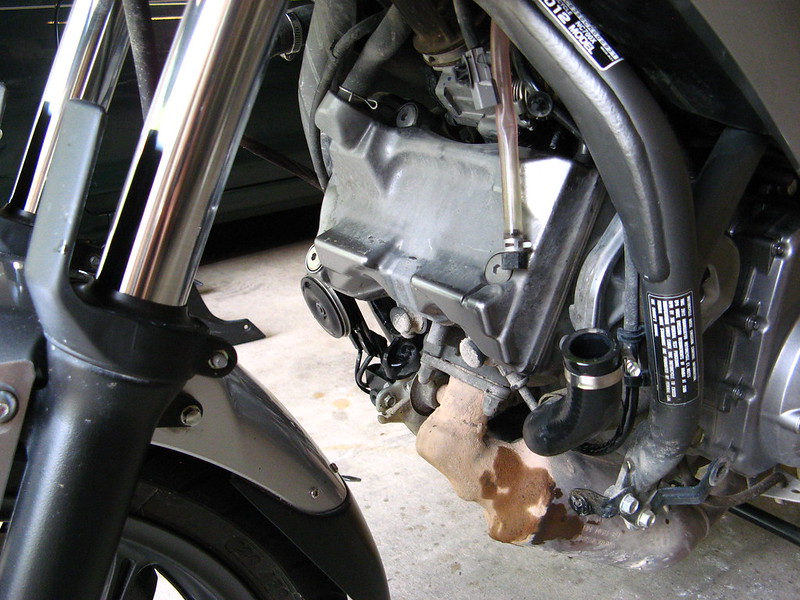
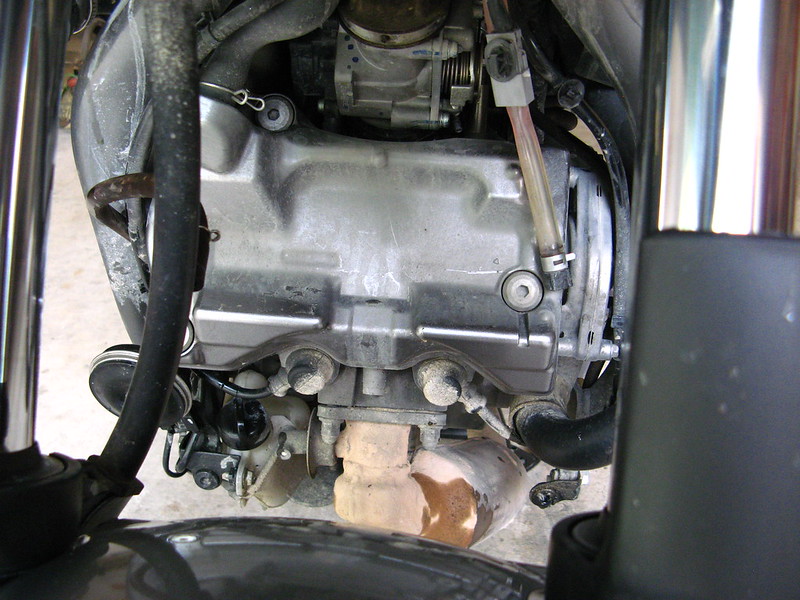
The entire procedure is lined out really well in the manual -- page 3-10. Worth every penny. The manual says remove the radiator. I know some people have managed without removing it completely, but after working in incredibly cramped conditions checking valves on my last bike, I gladly removed it so I had as much room as I could. And with it removed.... there's a LOT of room -- awesome.
NC700X Valve Check 011 by treybrad, on Flickr
NC700X Valve Check 010 by treybrad, on Flickr
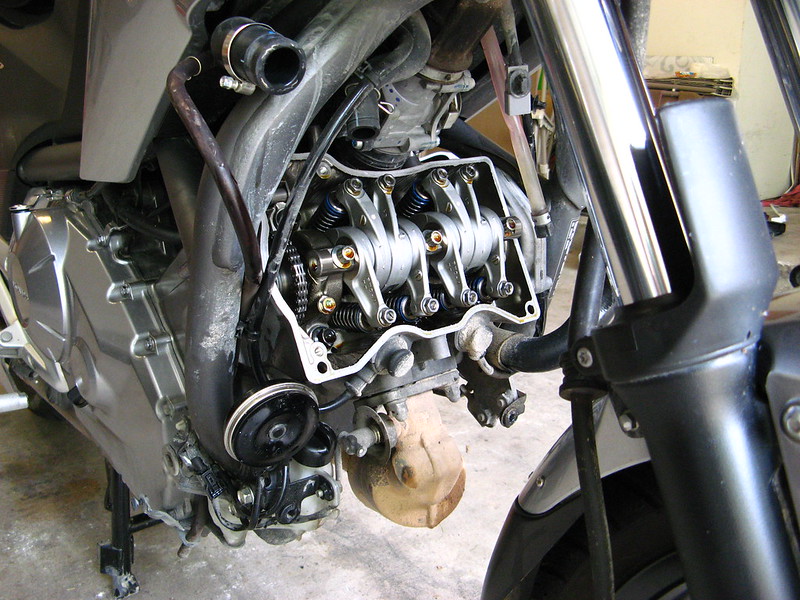
Three bolts later, the valve cover pops right off and everything is very straightforward.
NC700X Valve Check 013 by treybrad, on Flickr
NC700X Valve Check 014 by treybrad, on Flickr
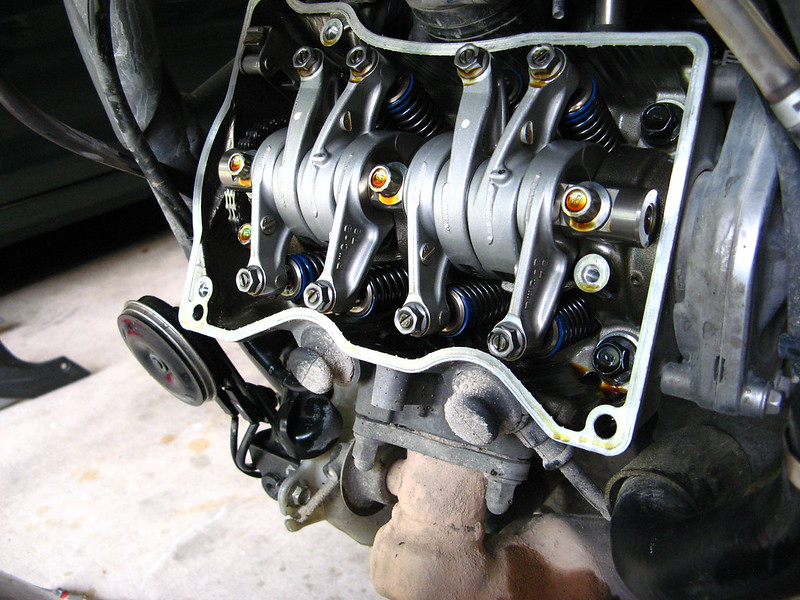
Get your feeler gauges out and check the clearances once you have the motor in the correct position. Mine were like this:
Cyl 1 -- Intakes both at .17mm, bang on spec. One exhaust valve was tight at .23mm and one was at the lower end of spec at .26mm -- spec is .28mm +- .02mm.
Cyl 2 -- Intakes both at .17mm. Exhausts were both at .25mm.
I've never had such an easy adjustment procedure. Took me maybe 5 minutes being overly cautious to adjust and triple check each valve.
Buttoned her all back up, filled up and burped the cooling system and was done before 1p.
NC700X Valve Check 015 by treybrad, on Flickr
So there you have it -- not bad at all. I took my sweet time. Now that I know the procedure, I'm pretty sure I could knock it out in about an hour if I was working quickly -- if the valves are in spec, that'll save quite a bit of time too.
trey
I'm no mechanic... I'm handy enough, and have a pretty well stocked garage of tools, and checking the valves on the NC is a doddle. If you have any mechanical inclination, save yourself some money and get you hands dirty for a couple hours -- you can do it with basic tools, nothing out of the ordinary.
First, as always, is start with a cold bike. Mine sat overnight, which is recommended.
NC700X Valve Check 004 by treybrad, on Flickr
I bought 2 qts of coolant. Capacity is only 1.79 qts, and I wasn't sure how much I'd lose out of the radiator -- it ended up being less than a quart, so you only need to buy one.
NC700X Valve Check 003 by treybrad, on Flickr
I started about 11a....
NC700X Valve Check 009 by treybrad, on Flickr
The entire procedure is lined out really well in the manual -- page 3-10. Worth every penny. The manual says remove the radiator. I know some people have managed without removing it completely, but after working in incredibly cramped conditions checking valves on my last bike, I gladly removed it so I had as much room as I could. And with it removed.... there's a LOT of room -- awesome.
NC700X Valve Check 011 by treybrad, on Flickr
NC700X Valve Check 010 by treybrad, on Flickr
Three bolts later, the valve cover pops right off and everything is very straightforward.
NC700X Valve Check 013 by treybrad, on Flickr
NC700X Valve Check 014 by treybrad, on Flickr
Get your feeler gauges out and check the clearances once you have the motor in the correct position. Mine were like this:
Cyl 1 -- Intakes both at .17mm, bang on spec. One exhaust valve was tight at .23mm and one was at the lower end of spec at .26mm -- spec is .28mm +- .02mm.
Cyl 2 -- Intakes both at .17mm. Exhausts were both at .25mm.
I've never had such an easy adjustment procedure. Took me maybe 5 minutes being overly cautious to adjust and triple check each valve.
Buttoned her all back up, filled up and burped the cooling system and was done before 1p.
NC700X Valve Check 015 by treybrad, on Flickr
So there you have it -- not bad at all. I took my sweet time. Now that I know the procedure, I'm pretty sure I could knock it out in about an hour if I was working quickly -- if the valves are in spec, that'll save quite a bit of time too.
trey
Last edited:


 ) to start doing such things by myself, it gives a lot of learning curve and understanding into what (and how) needs to be done.
