

dduelin
Site Supporter
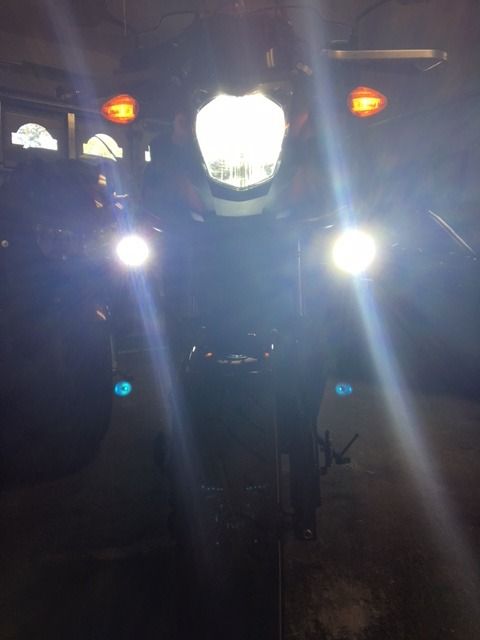
The Evitek G6 H4/9003 LED bulb is a plug and play replacement for the OEM 60/55 watt halogen bulb. It's available on Amazon for $43-$45 for a pair. This bulb has been installed in some ST1300s including mine and demonstrates a good tight beam pattern with a pure bright white light. I will report back after some night riding on the NC700X but in the ST1300 it's a very good light pattern, does not provoke flashing from oncoming traffic, and is noticeable brighter and projects further. On my bikes the white light output matches the LED accessory lighting on either side and below. It's very bright to oncoming motorists in the daytime. What separates the Evitek G6 from other LED headlight bulbs is the two spoon shaped shields on either side mounted below the LED chips. The shields give a sharp cut-off of the light pattern and reduces scatter and glare.
The bulbs have a ballast or control box that has to be zip tied out of the way after the three-pin plug is connected to the stock headlight bulb connector. The bottom of the bulb is an enclosed 5,000 rpm fan to cool the bulb. The fan is like the ones in laptop computers.
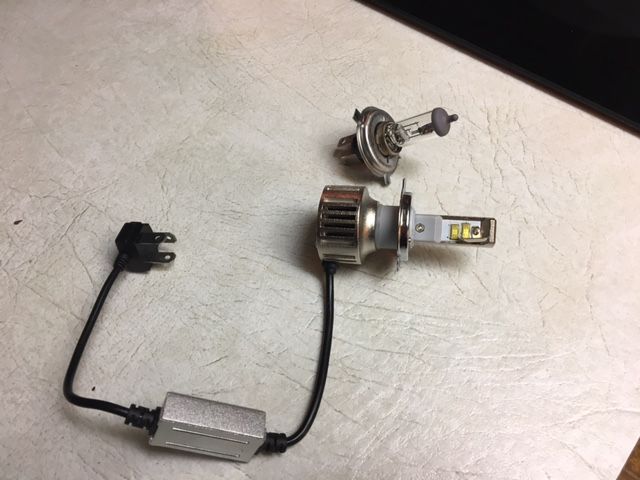
The three tabs that orient the bulb in the stock headlight reflector. Most aftermarket H4/9003s have the bottom two tabs at 120 degrees and have to be removed or bent backwards so the bulb can fit in the OEM reflector. These fit perfectly with no modification.

Before picture. The light output of this stock bulb looks yellow after adding LED accessory lighting. It was/is always yellow but the LED Mondomoto lights contrast white and highlight the yellow halogen output. The yellow cast is best seen on the beak under the light. While yellow it's no different from other halogen lighting of the last 15-20 years. The NC700X has a good stock headlight and I was never unhappy with it in the last 45,000 miles but with the advent of affordable and good LED lighting it was time to upgrade to LED.
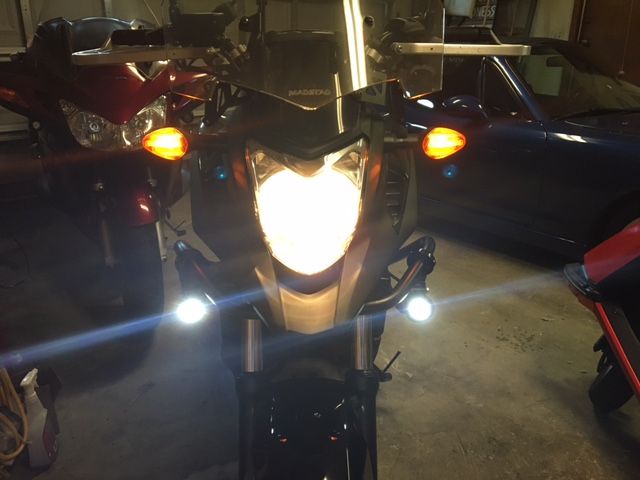
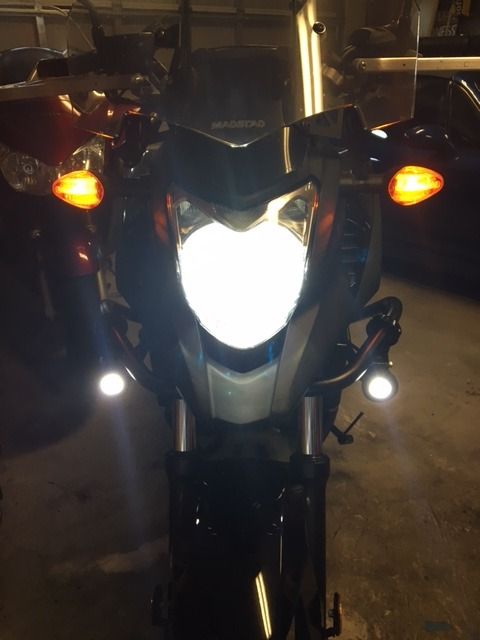
With the lighting in my garage it is difficult to see how white LED white is. The white light on the beak shows it:
The bulbs have a ballast or control box that has to be zip tied out of the way after the three-pin plug is connected to the stock headlight bulb connector. The bottom of the bulb is an enclosed 5,000 rpm fan to cool the bulb. The fan is like the ones in laptop computers.

The three tabs that orient the bulb in the stock headlight reflector. Most aftermarket H4/9003s have the bottom two tabs at 120 degrees and have to be removed or bent backwards so the bulb can fit in the OEM reflector. These fit perfectly with no modification.

Before picture. The light output of this stock bulb looks yellow after adding LED accessory lighting. It was/is always yellow but the LED Mondomoto lights contrast white and highlight the yellow halogen output. The yellow cast is best seen on the beak under the light. While yellow it's no different from other halogen lighting of the last 15-20 years. The NC700X has a good stock headlight and I was never unhappy with it in the last 45,000 miles but with the advent of affordable and good LED lighting it was time to upgrade to LED.

With the lighting in my garage it is difficult to see how white LED white is. The white light on the beak shows it:


Last edited:


